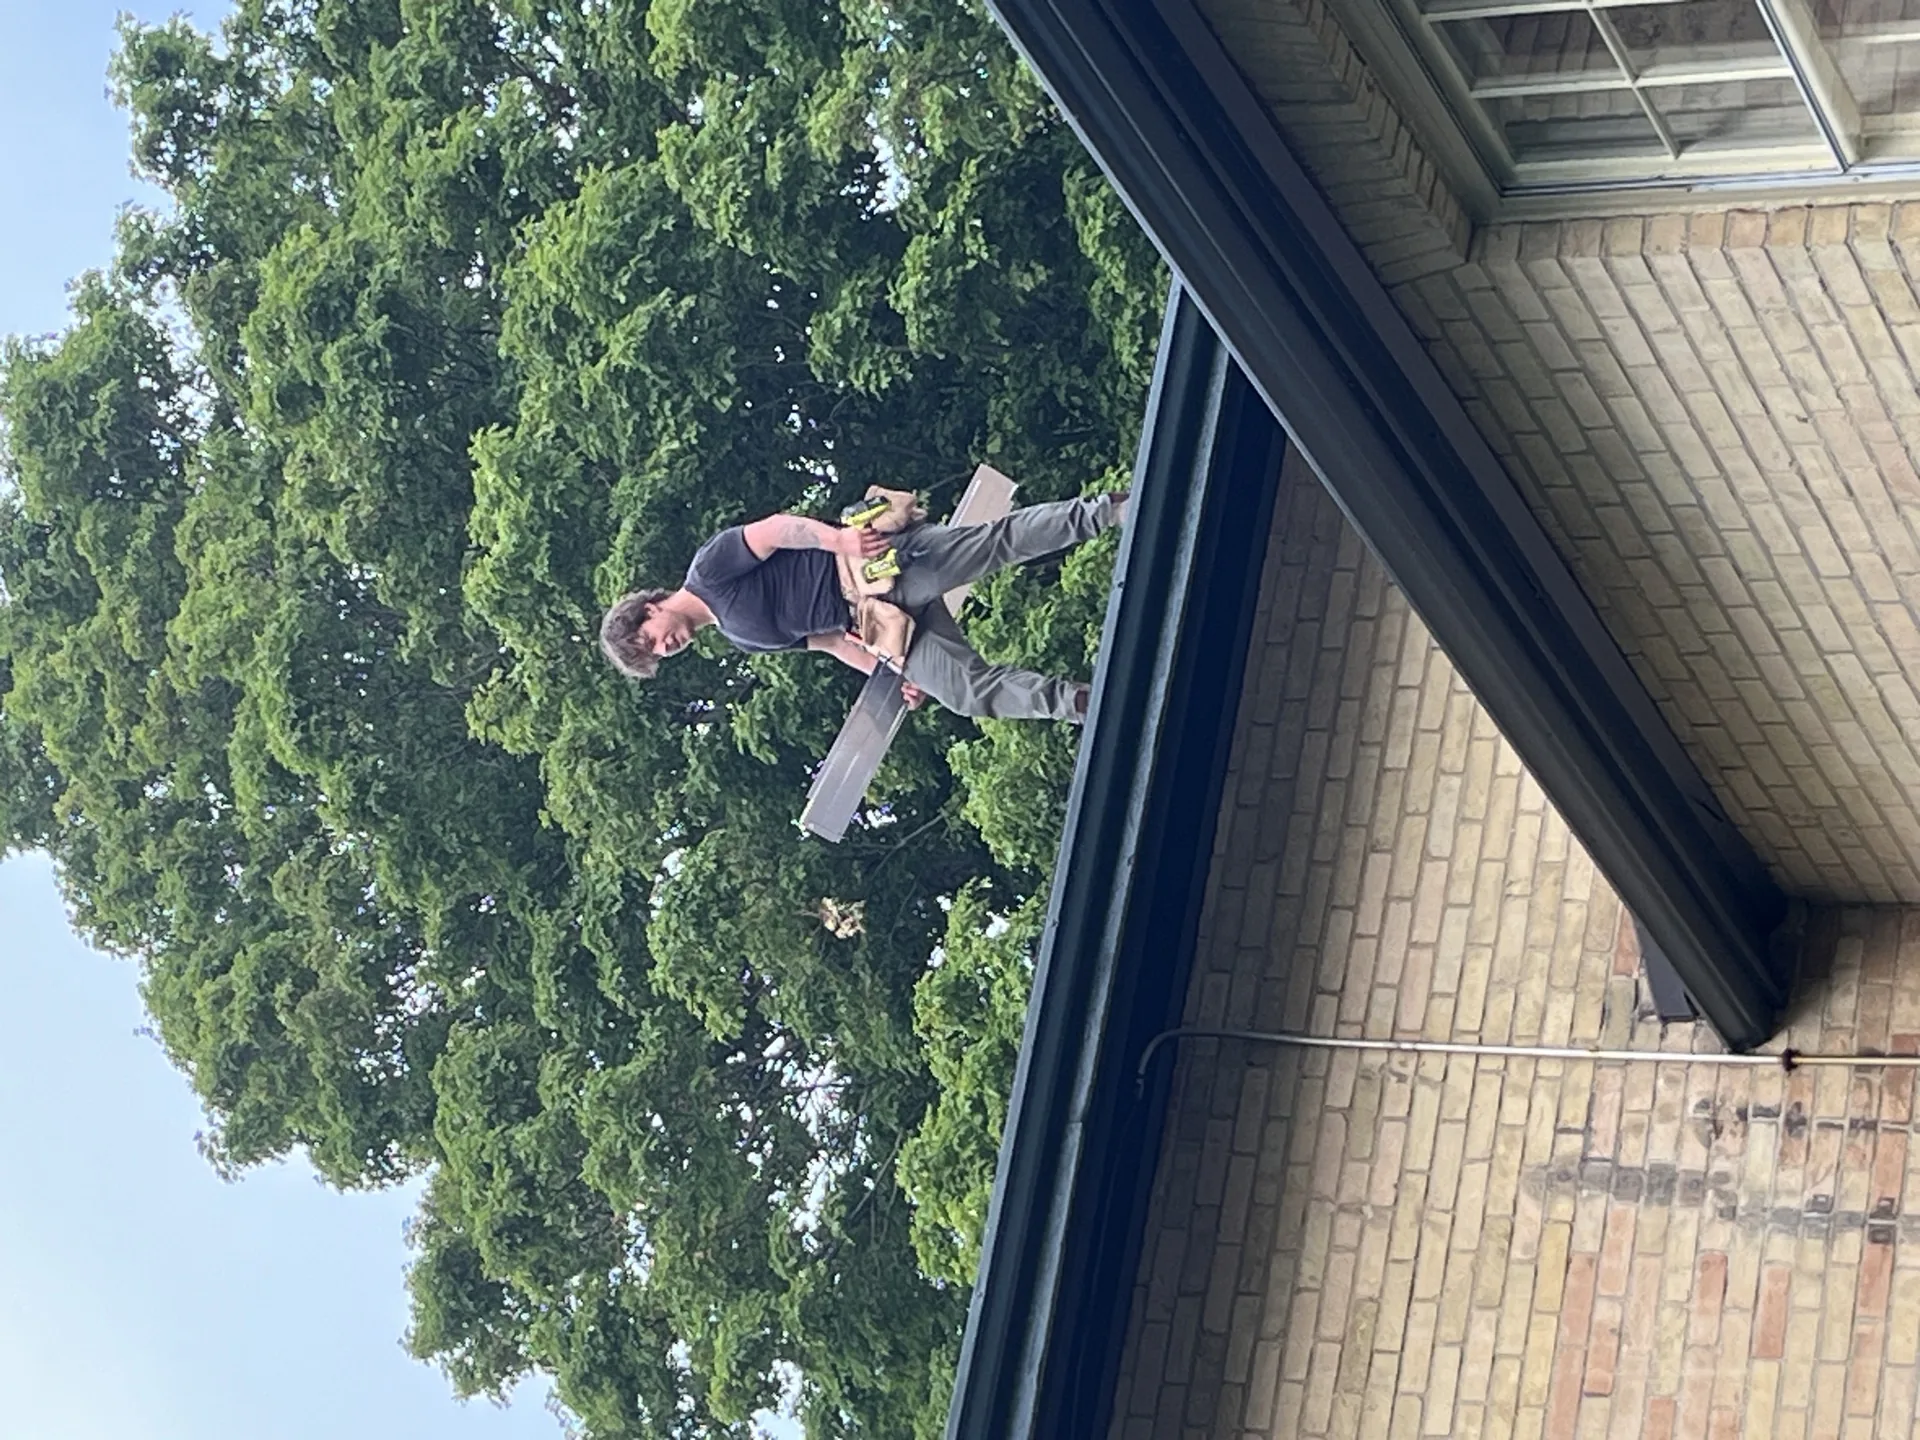
A single-storey eave is the fairest place for a homeowner to fit guards. This is the whole job in nine steps, from clearing the trough to testing with a hose, plus the signs that mean it is time to stop and call a crew.
In This Article
Is your house a fair DIY candidate?
A bungalow is the right size for this job, but not every bungalow qualifies. You are a good candidate when all of these are true:
- You can reach the eave from a stepladder or a short extension ladder without stretching.
- The ground under every run is firm and level, with no deck, steps, slope or garden bed where the ladder would stand.
- No overhead line or service mast sits within 3 metres of where you will work.
- The trough and fascia are sound, and the guard is made for your trough profile and width.
- A helper can steady the ladder and pass up tools.
If one of these fails, price a professional install instead. A hip roof, an attached garage and a covered porch all add corners, and corners are where first-time fits go wrong.
Tools and materials to gather
- The guard sections, plus one spare length
- The maker's recommended fasteners, exterior-rated and corrosion-resistant
- Aviation snips, a drill or driver with the right bit, a tape measure and a marker
- Cut-resistant gloves and safety glasses
- A ladder with a standoff, a bucket, a hose and a soft brush
Skip any product that must be tucked under your shingles unless its instructions clearly cover your roof type.
Tired of cleaning gutters twice a year?
We install premium gutter guards on homes across Kitchener, Waterloo, Cambridge & Guelph. Free, no-obligation quotes, ready within 1 business day.
Nine steps from prep to hose test
- Read the maker's instructions in full. Confirm the trough profile and width they support, and how the guard attaches.
- Empty the trough. Scoop it out, hose it clean and flush each downspout. Anything left behind gets sealed in.
- Fix what is wrong underneath. Tighten or add hangers, reseal leaking joints, check the slope and replace soft fascia or rusted sections. See how to repair leaking gutter joints.
- Measure each run along the front lip. Note the corners, outlets and end caps, and sketch the house so you can count them.
- Make a cut list. Mark and cut sections on the ground, never on the ladder. Wear gloves and glasses, and smooth every cut edge.
- Dry-fit the first section. With the ladder set on firm ground, seat the piece without fasteners and check that it sits evenly and follows the roof plane the way the instructions show.
- Fasten it. Use the maker's fastener type and spacing, and work from one end along the run. Do not overtighten, since that bends frames.
- Finish ends and outlets. Fit end caps and corners, and make sure nothing covers the downspout outlet.
- Test with water. Run a hose gently across each run for a few minutes. Water should pass through, reach every downspout and not spill over the edge.
Set the ladder base about one unit out for every four units of height, keep three points of contact, and keep your belt buckle between the rails. Our guide to ladder safety for exterior home maintenance covers the rest.
Mistakes that cost a second visit
- Sealing debris in. A guard over a dirty trough hides the problem until the water backs up.
- Getting the height wrong. A guard that sits above the roof line lets water skip past. One that sits too low catches debris against the shingles.
- Mixing profiles or brands of fastener. Ordinary screws rust and stain, and dissimilar metals corrode where they meet.
- Skipping the fascia check. A screw in soft wood pulls out in the first wet snow.
- Working alone in wind. Long sections act like sails.
Come back after the first heavy rain and again after the first freeze-thaw cycle in November. Retighten anything loose while it is easy.
When to stop and hand it over
Stop if the guard must tuck under the shingles, if the fascia is rotten, if you find sagging runs or if any section reaches second-storey height. Doing it half-right costs more than doing it once.
D&D Home Services installs guards on Kitchener homes and elsewhere in the region. Crew members are Working at Heights certified, the company carries $2 million in general liability insurance, and quotes are free and confirmed in writing before work begins. See gutter guard installation for how quotes are laid out.
Key Takeaways
- A single-storey eave with firm ground, no wires nearby and a sound trough is a fair DIY candidate.
- Empty, level and repair the trough first, because a guard fitted over debris or a sagging run seals the problem in.
- Measure the front lip of each run, cut on the ground, fasten to the maker's spacing and keep the surface in line with the roof.
- Finish with a hose test, re-check after the first heavy rain and first freeze-thaw, and stop if guards tuck under shingles or the fascia is soft.
Sources & References

Request a home-service quote
Select the service you need and describe the work area and access.