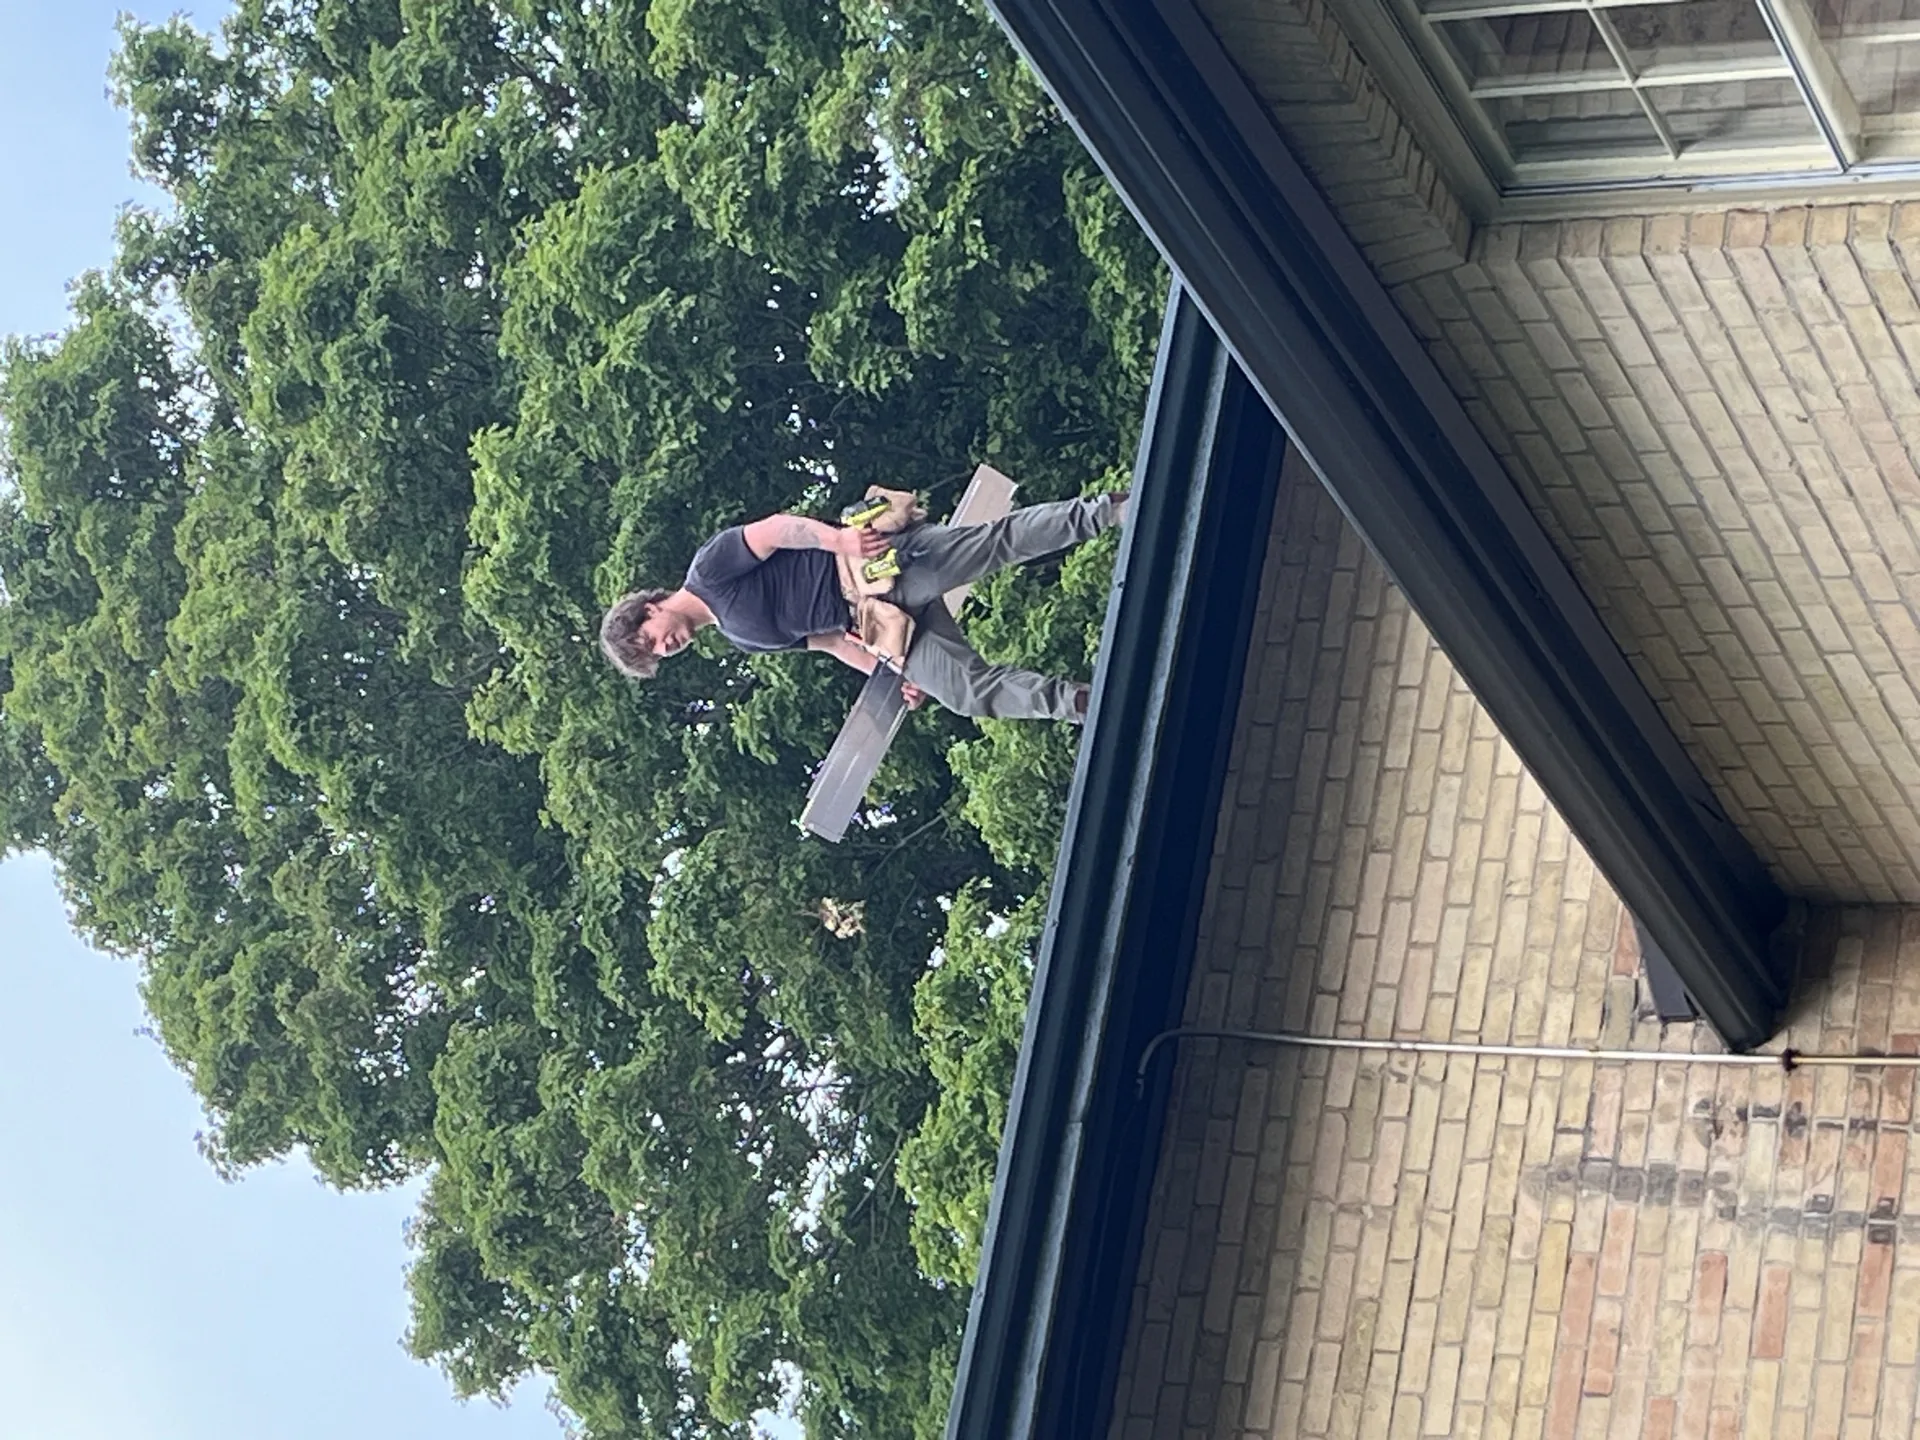
Most DIY guard problems start with a measurement or a cut, not the fastening. This guide covers how to measure each run, plan the corners and outlets, and cut cleanly so the pieces fit the first time.
In This Article
Measure the run, not the house
Measure along the front lip of the trough, from end cap to end cap or corner to corner. Do not measure the roof edge or the wall, because they can differ from the trough by more than you expect. Ask a helper to hold the tape, and read it at the trough itself.
Sketch the house and label each run: front, back, left, right, garage, porch and any dormer. Beside each run, note what it ends in: an inside corner, an outside corner or an end cap. Mark the downspout outlets and their distance from one end.
Then measure the trough's opening width, and check its profile, so that you buy a guard made for it. A guard for a narrower trough will not seat, and one for a wider trough will gap. See how to choose the right gutter size if you are unsure what you have.
Corners, outlets and ends: where a cut list gets tricky
- Outside corners stick out, and usually need two mitred ends or a manufactured corner piece.
- Inside corners tuck in, and often need a mitre cut or a notch so that the pieces meet without a gap.
- Outlets must stay open. The guard should stop short of the outlet or be notched around it, following the maker's instructions.
- End caps need the guard to finish flush, so debris and nesting animals cannot slip in.
- Odd angles where a run meets another roof at something other than a right angle need a template. Fold a piece of paper into the corner, trace the angle and carry the template to the cutting bench.
Label every piece with masking tape as you cut it, using the run name and the end it belongs to.
Tired of cleaning gutters twice a year?
We install premium gutter guards on homes across Kitchener, Waterloo, Cambridge & Guelph. Free, no-obligation quotes, ready within 1 business day.
Tools and technique for clean cuts
Cut on the ground, on sawhorses or a stable bench, never up a ladder. Support the piece on both sides of the cut so that it does not kink. Wear cut-resistant gloves and eye protection, because fresh cuts on metal and mesh are sharp.
- Aviation snips suit thin metal and mesh. Use left-cut, right-cut and straight patterns as the shape of the cut demands.
- A fine-toothed blade suits heavier aluminum frames, if the maker allows it.
- Files take the burr off every cut edge before the piece goes up.
- Angle grinders are a poor choice on stainless mesh, since sparks and iron dust can burn coatings and leave rust stains.
Follow the guard maker's cutting guidance where it exists, and practise on an offcut before you cut a full piece.
Allowing for movement and fit
Metal expands and contracts with temperature, and Southern Ontario swings from well below freezing to hot summer days. Guards need a little room to move. Follow the maker's guidance on gaps and overlaps at joints, and do not force pieces tight against each other.
Dry-fit each cut piece before you fasten it. It should sit flat along the lip, follow the roof plane as the instructions show, and meet its neighbour without a visible gap. If one piece is off, recut it while it is still on the ground.
A pre-cut checklist, and the mistakes it prevents
- Read the maker's instructions in full.
- Have a second person confirm every measurement.
- Buy a spare length, since a piece cut short cannot be lengthened.
- Write a labelled cut list.
- Practise the cut on an offcut, then dry-fit the first real piece.
The classic mistakes are measuring the roof edge instead of the trough, forgetting that corners consume length, cutting left and right pieces the wrong way round, and covering an outlet.
If your sketch shows a complicated roofline, several dormers or a second-storey eave, price a professional install instead. D&D Home Services quotes several guard types across Kitchener, Waterloo, Cambridge and Guelph, and confirms every quote in writing. See gutter guard installation, and read ladder safety for exterior home maintenance before you climb to measure.
Key Takeaways
- Measure along the front lip of the trough, sketch each run and note its ends, its outlets and the trough width.
- Plan outside corners, inside corners, outlets, end caps and odd angles on paper first, and label every piece as you cut it.
- Cut on the ground with aviation snips, file the burrs, and avoid grinders on stainless mesh.
- Leave room for metal movement as the maker specifies, dry-fit each piece and buy a spare length.

Request a home-service quote
Select the service you need and describe the work area and access.